How to set up printer in NUS Cinnamon College on Linux
This is a step-by-step guide in setting up printing service in Cinnamon College, NUS. This guide might be useful for MacOS users as well whose OS uses CUPS for the underlying printing service, but I have not tried on a Mac before.
As of May 2021, the printers in Cinnamon College uses Samba to provide printing service. If you are familiar with CUPS and SAMBA, you can skip most of this post with these pointers:
- Add the printer using the
HP LaserJet Series PCL 6 CUPSPPD instead of the recommendedGeneric PostScript Printer. Using the latter always messes up the paper size toOthers, despite your printer settings. The release station will not allow you to print documents of sizeOthers, but using the HP PPD will respect your paper size settings. - After adding the printer into CUPS, you have to manually edit the correct printer under
/etc/cups/printers.confto contain the line:
AuthInfoRequired username,password
You will be prompted to login using your NUSNET ID as the username (nusstu\e1234567x) and
your password. If you run GNOME or have gnome-keyring installed, your password
can be remembered.
- That should be all. Remember to restart CUPS (
systemctl restart cups.service) after editing/etc/cups/printers.conf.
Step 1: install CUPS and SAMBA
The Common Unix Printer Service (CUPS), an open source printer server developed by Apple, is what we will use today. As of May 2021, Cinnamon College printers use Samba. Install it using your favourite package manager: we will demonstrate using APT on Ubuntu below.
sudo apt install cups samba
Step 2: Start the CUPS service
sudo systemctl enable --now cups
sudo systemctl enable --now smbd
You can verify that the CUPS and Samba services are already running with
systemctl status cups
systemctl status smbd
Step 3: Use the web-based CUPS interface
CUPS server’s web interface runs on your local machine on port 631. Fire up your
browser, and navigate to localhost:631.
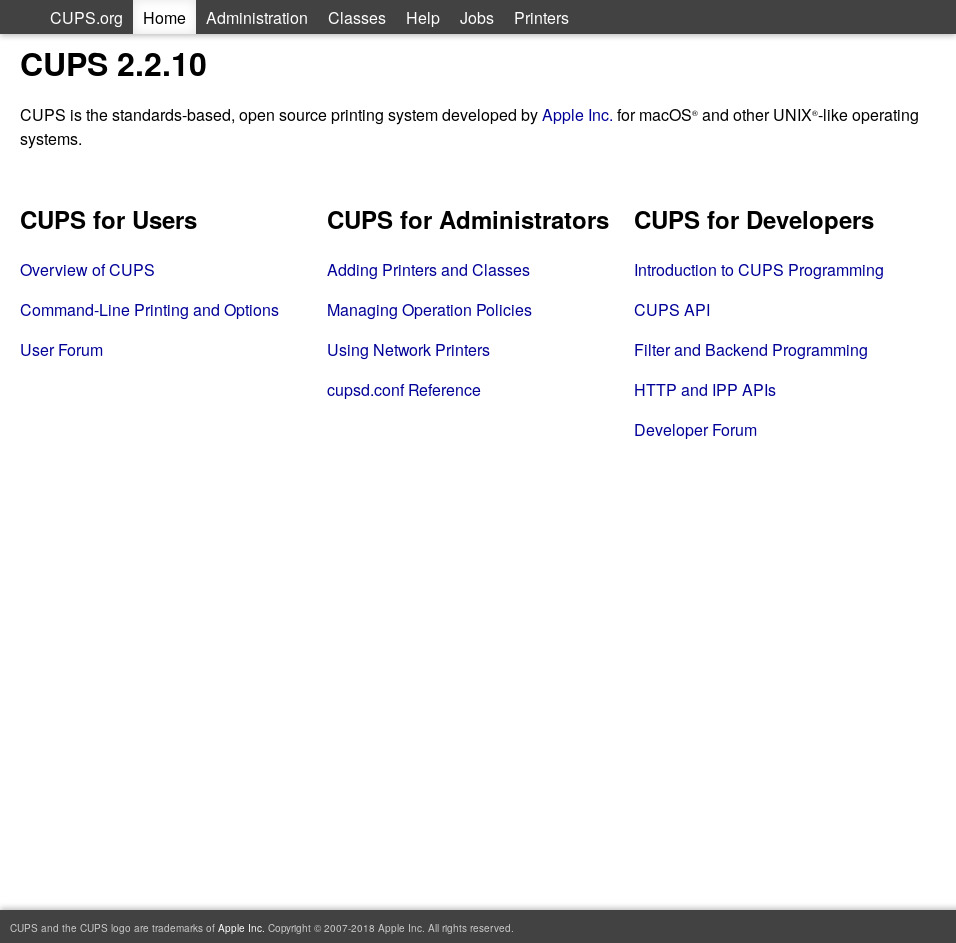
In the middle column, choose Adding Printers and Classes, then Add Printer.
You will be promted to key in your username and password, which refers to your
current user (with sudo privileges). To check your username, open up a terminal
and enter whoami to determine your username if you don’t already know it.
Step 4: Enter printer-specific information
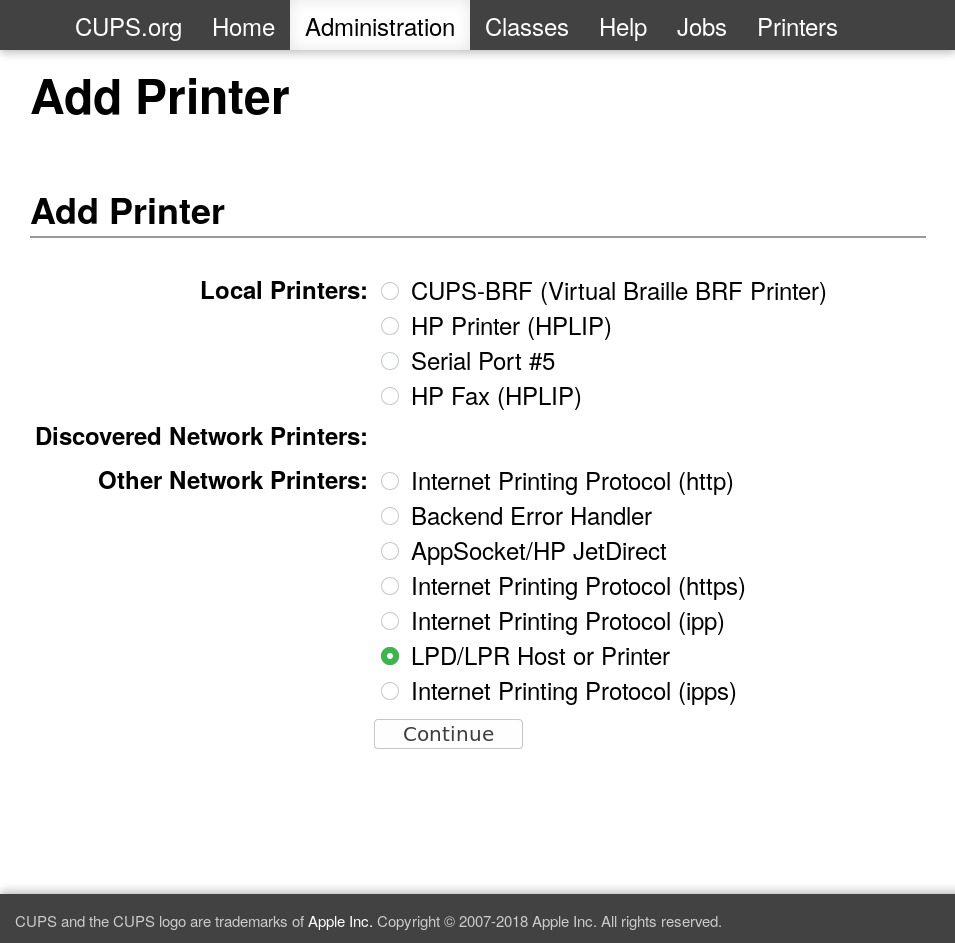
As the printer is remotely connected via the same network, we will choose the
LPD/LPR Host or Printer option in the radio list. Press continue.
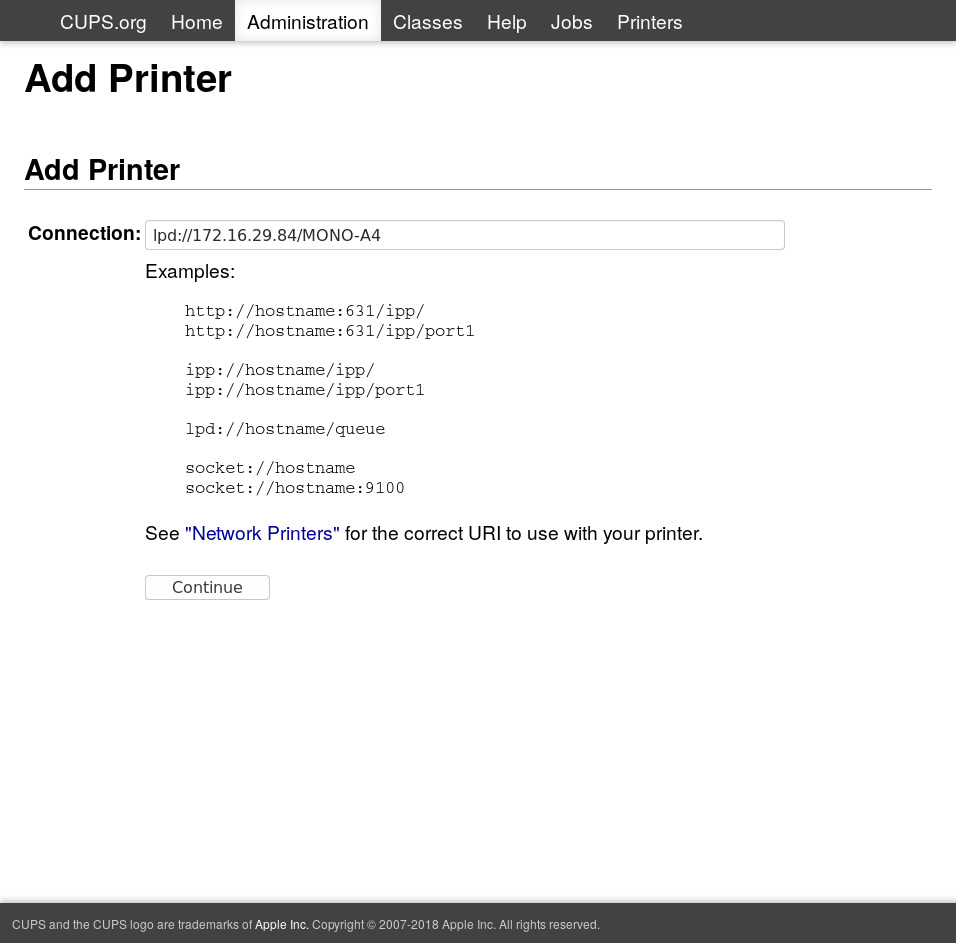
In the connection textbox, enter the IP address of the printserver and the printer queue in the following format:
lpd://<ip_addr>/<queue>
For Cinnamon College’s printers, it happens to be 172.16.29.84 as of writing,
so we will enter lpd://172.16.29.84/MONO-A4 for the most used machine.
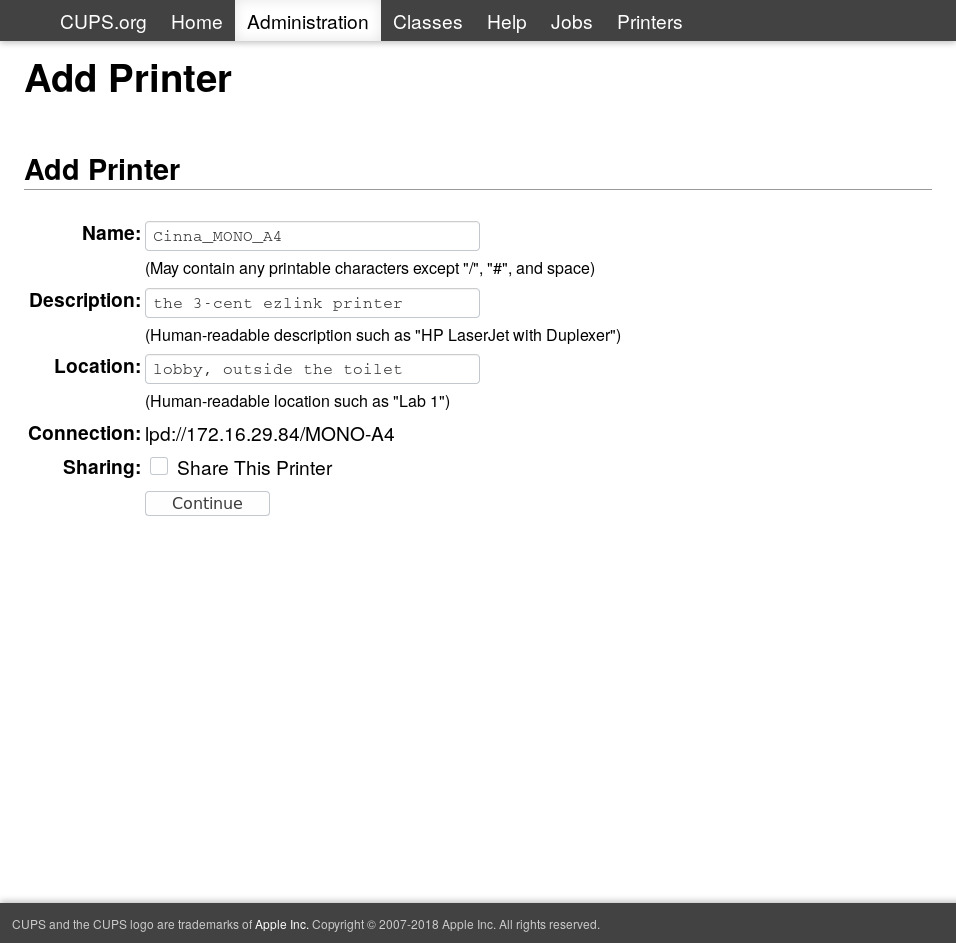
Errata: on the previous version of the post, I said the name is important but it is not. The queue determines the printer, whereas name is the just the printer name you see when you are at a printing dialog.
For the name, description and location columns, you can enter whatever you like to help you distinguish between the different printers you add to CUPS.
Step 5: Select a PPD file for your printer
PostScript Printer Description (PPD) files are instruction sets created by printer vendors to describe what their printers can do, and how to invoke these functions.
Refer again to the MacOS setup document, we are told to select a Generic PostScript Printer PPD. Selecting the Make as Generic, I chose the PPD as
below, because it seems to match the description the most.

When you are done, click Add Printer.
Step 6 (Optional): Add Default Options
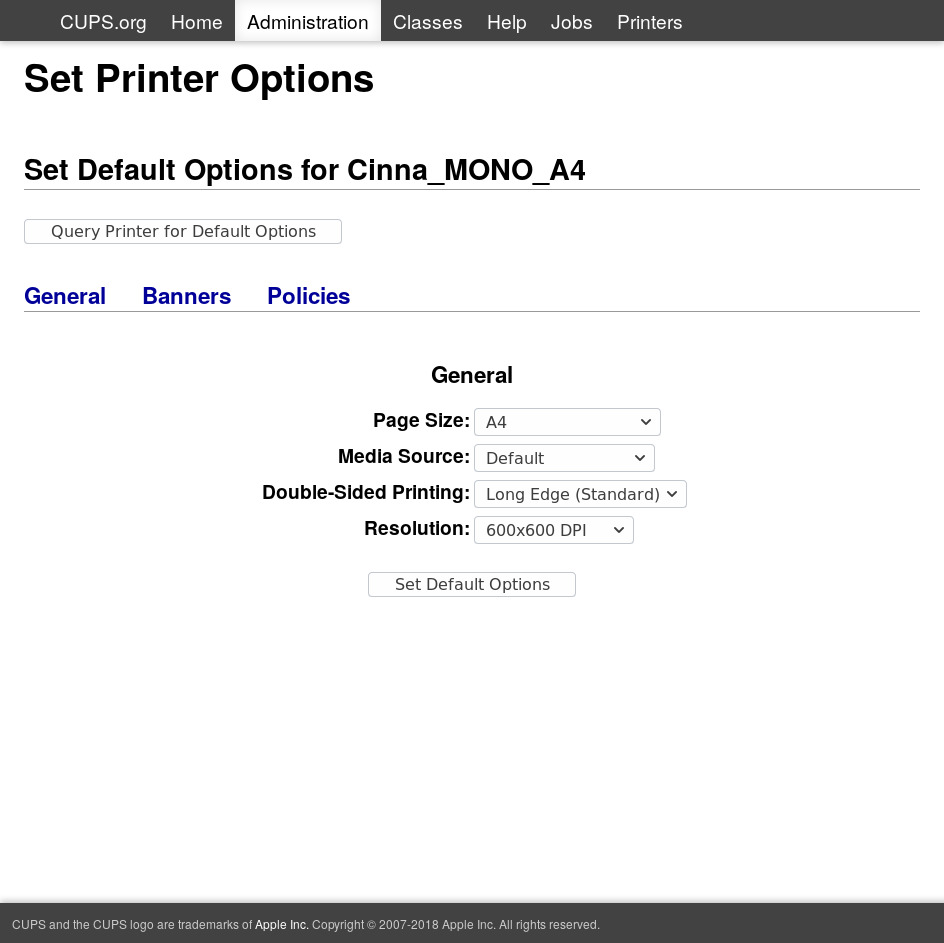
Just as what the page says. The Query Printer for Default Options button was
not clear in whether it worked, since the fields did not change after I click
the button. But it could be that we started with the printer’s default options.
Friendly reminder: set double-sided printing as default to save the earth!!
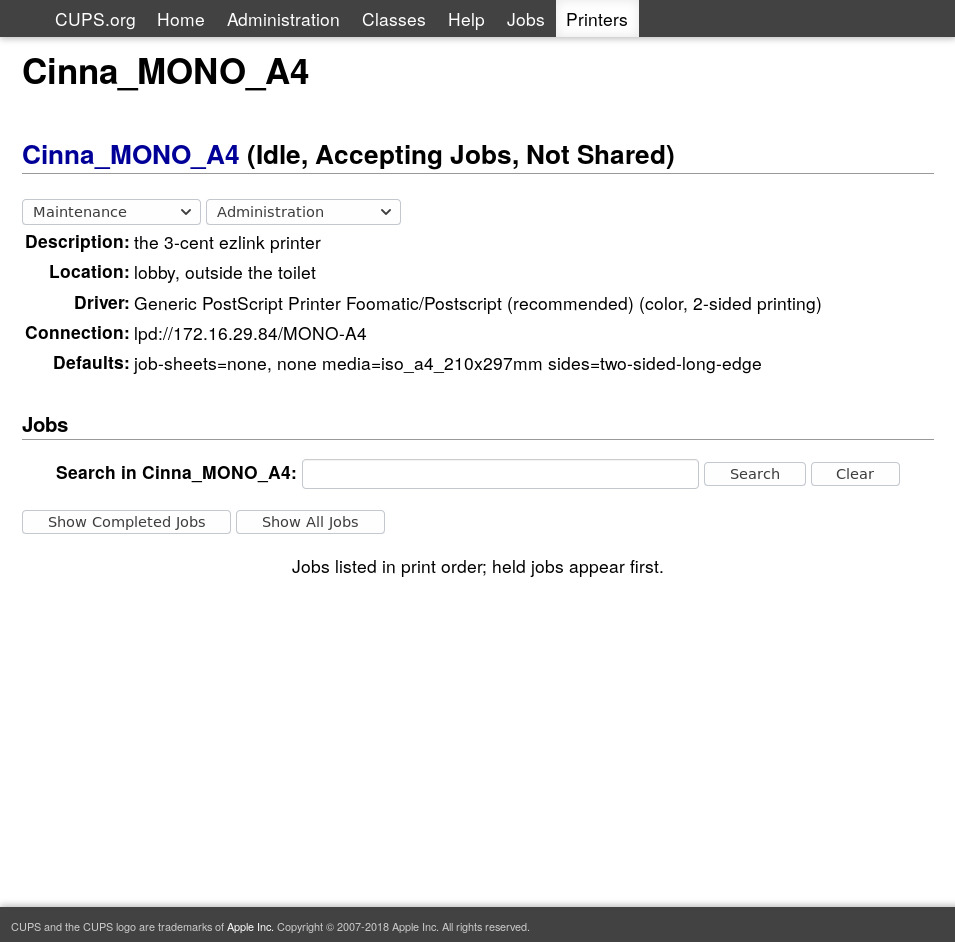
Voila - now you are done! You can check your newly installed printer at
localhost:631/printers/<PRINTER-NAME>, which is
localhost:631/printers/Cinna_MONO_A4 in my case.
Hope this guide benefits you. (Updated 14 Aug 2019)